Creating a Project
Once you're logged in, creating your first project is straightforward.
Step 1: Navigate to Projects
- You'll see a sample project and a "Create New Project" button
- Click the button to start
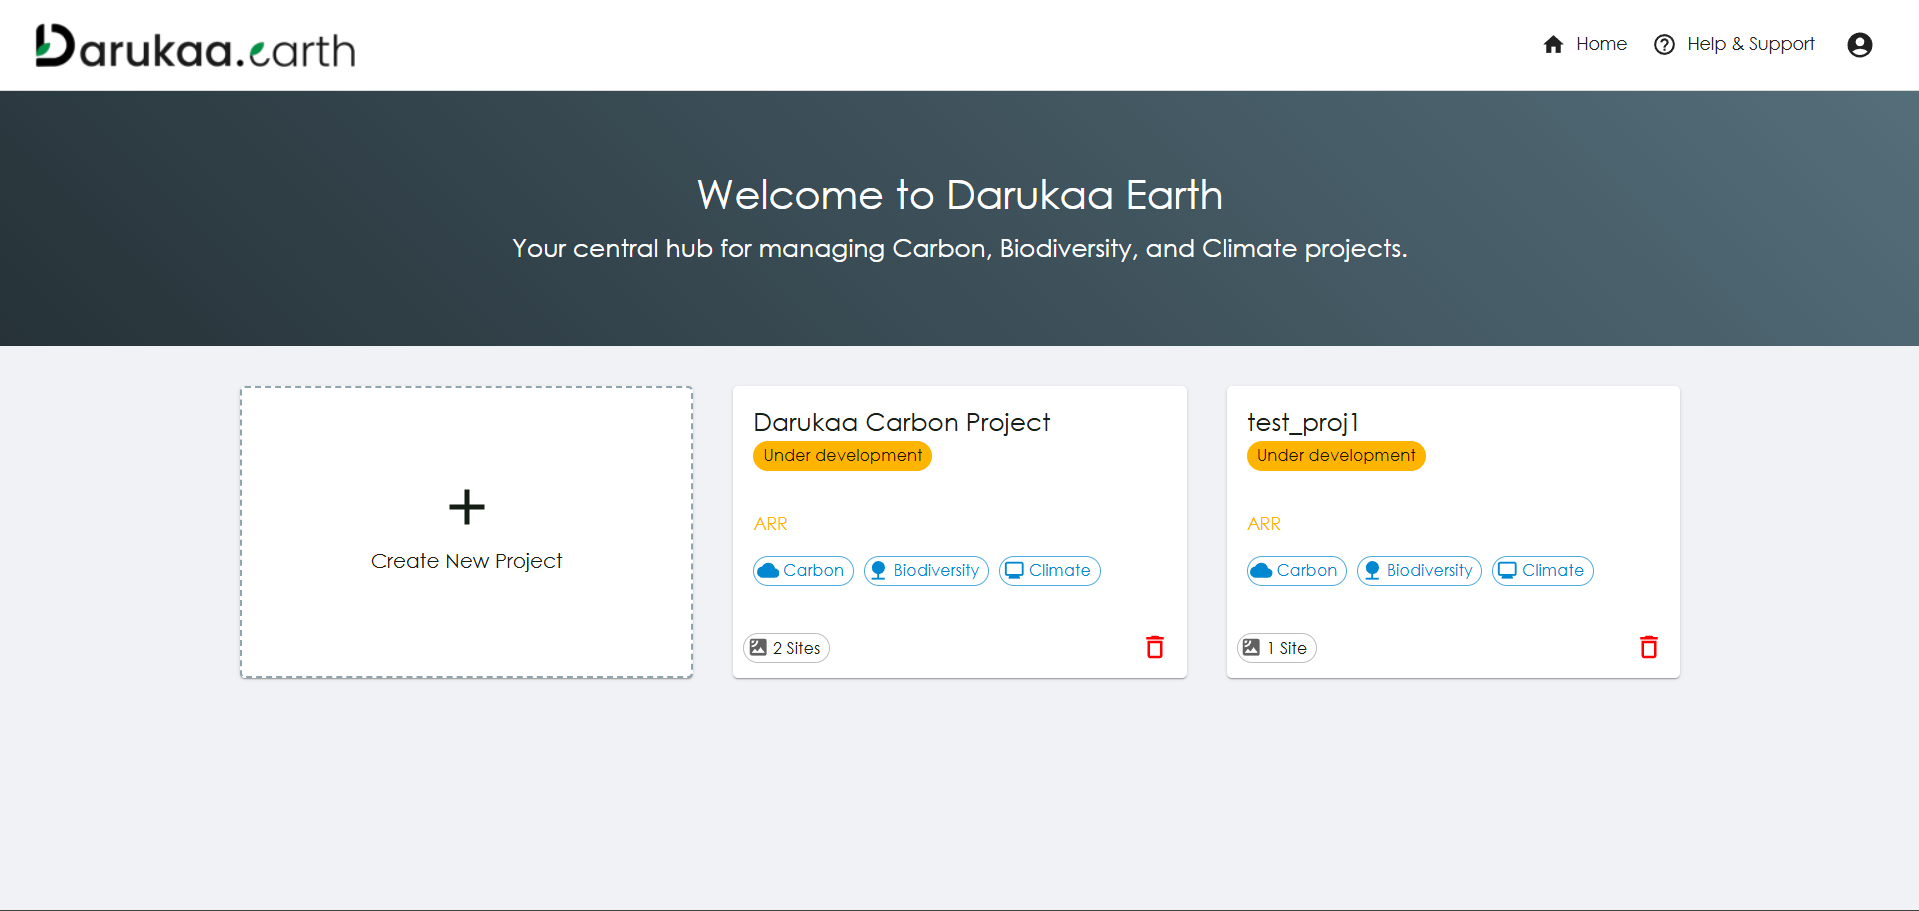
Project cards view showing available projects and create button
Step 2: Fill in Project Details
Project Name
Give your project a descriptive name that clearly identifies it.
Project Type
Select what kind of project it is:
- Carbon - For carbon credit projects
- Biodiversity - For biodiversity conservation projects
- Climate - For climate risk assessment
- Or select all three for comprehensive projects
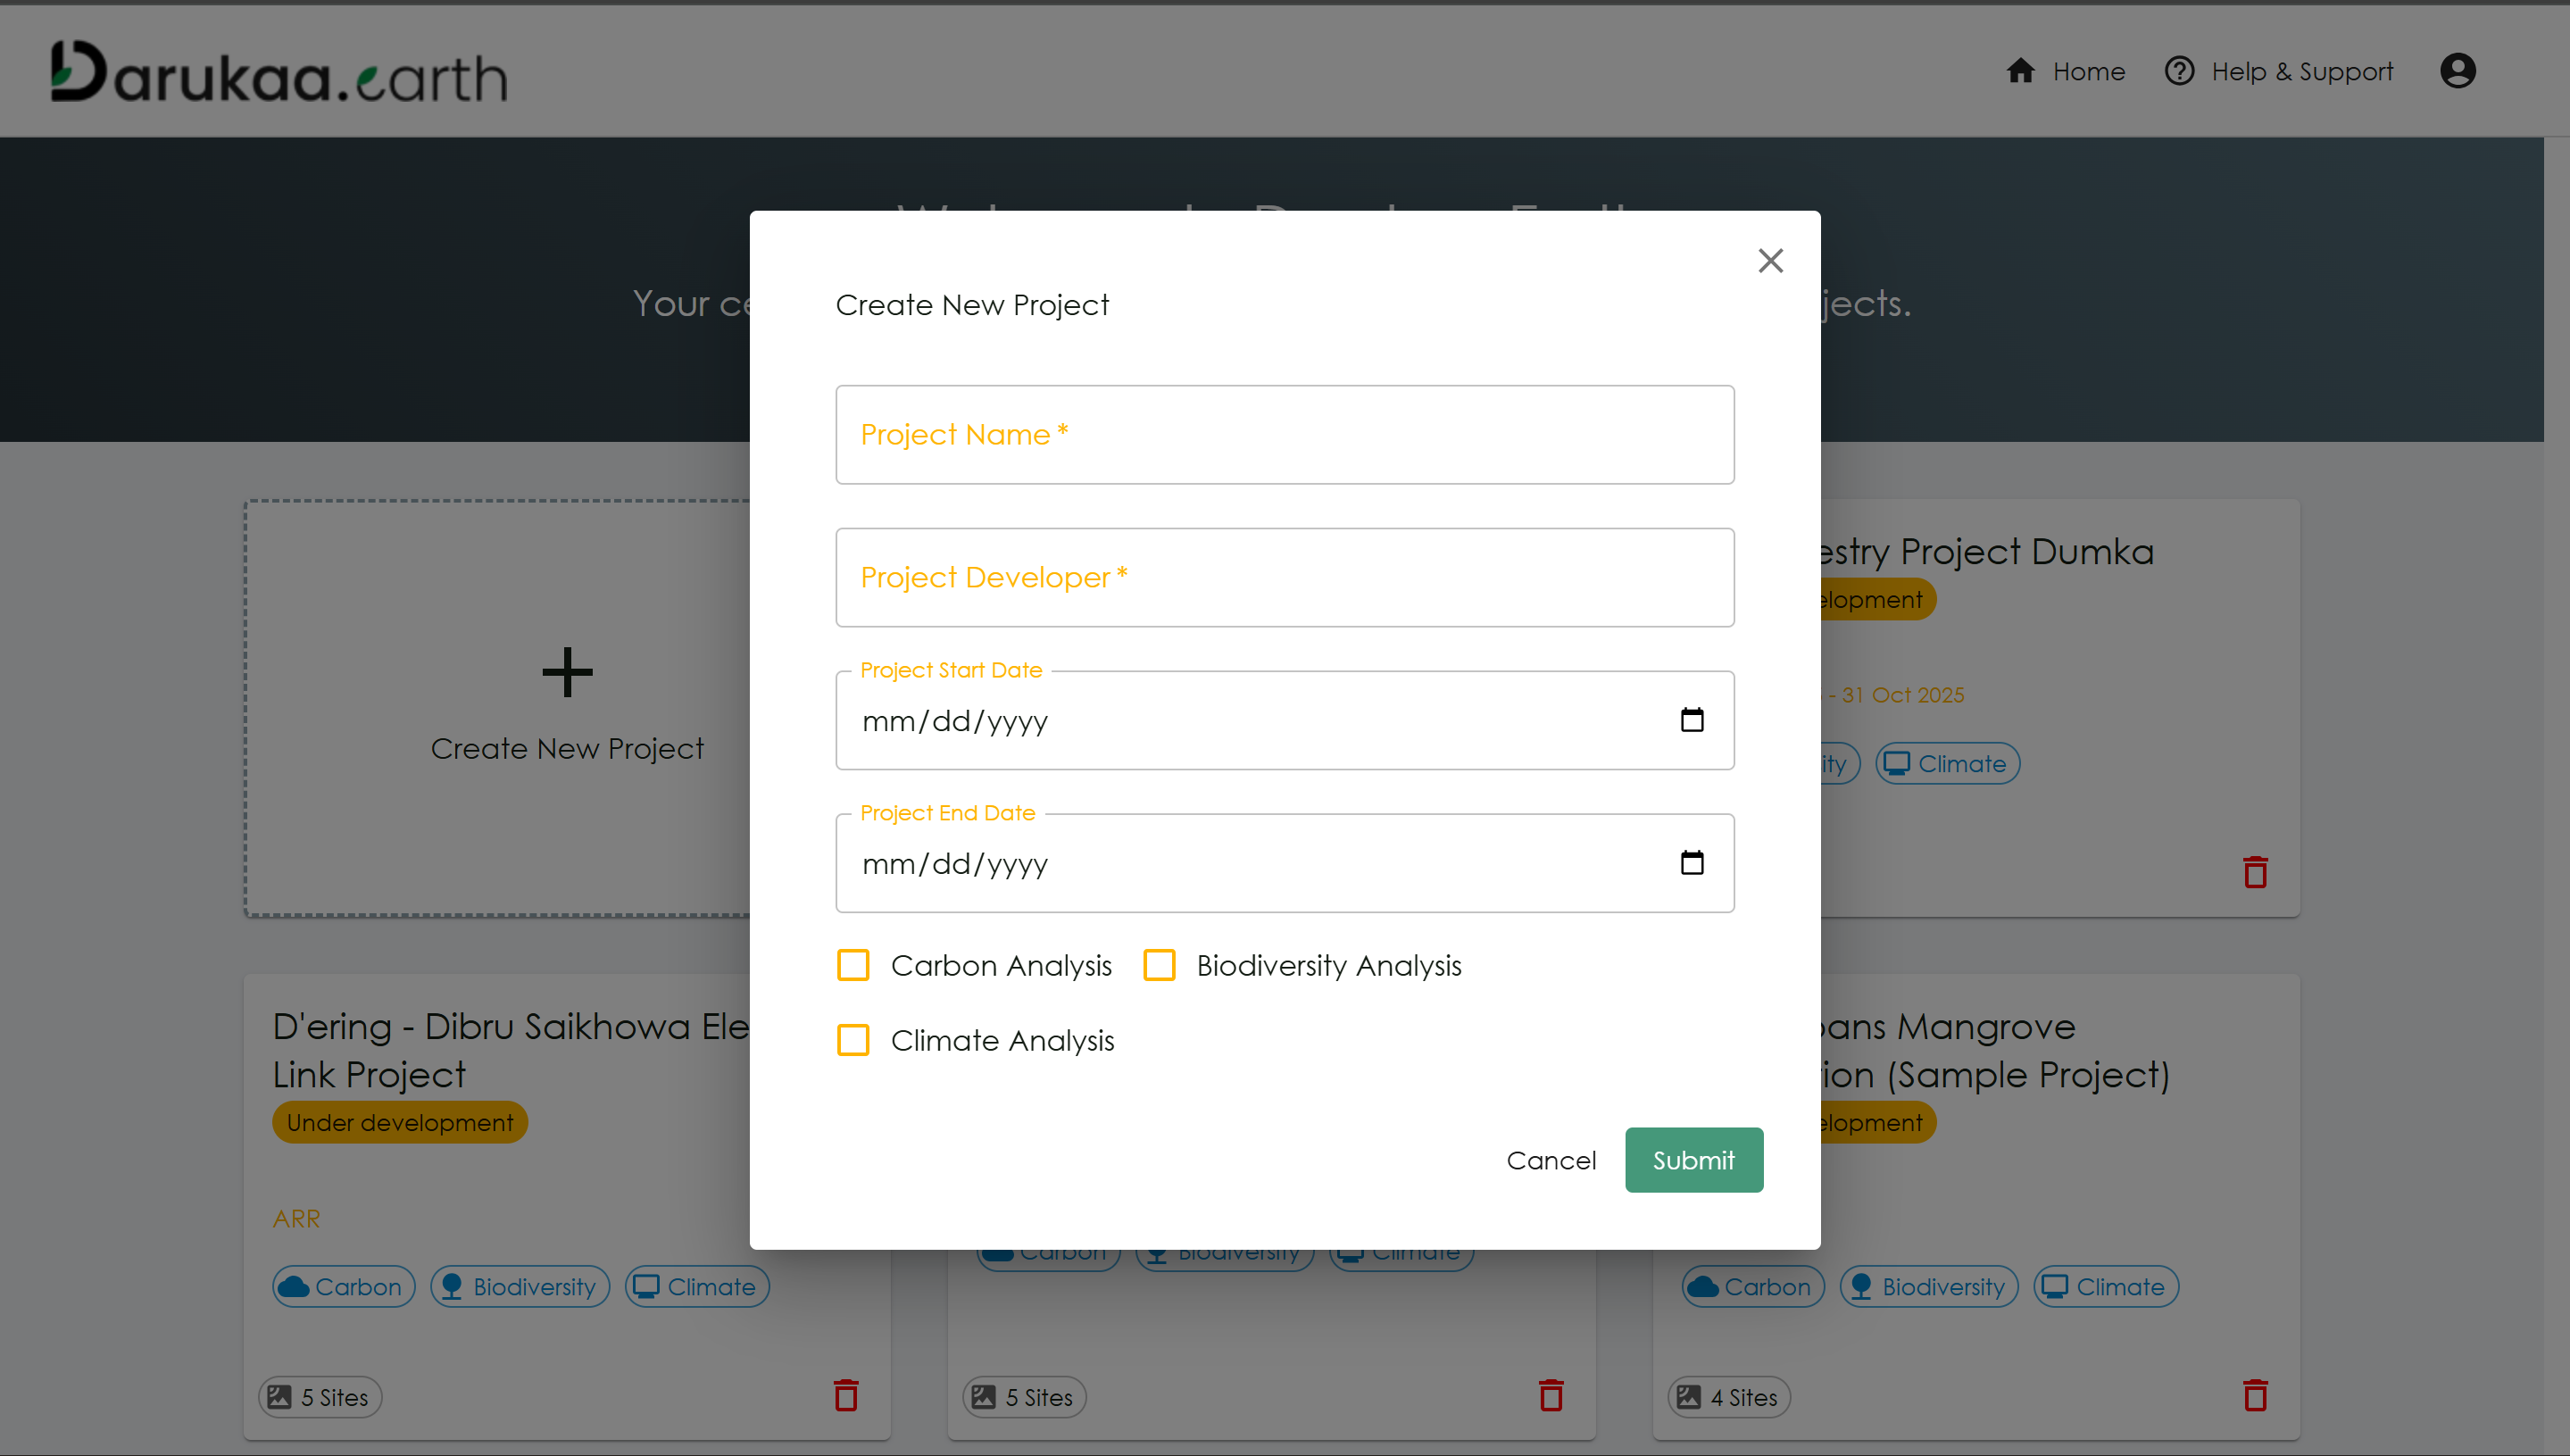
Project creation form with module selection and detailed fields
Step 3: Additional Information
Depending on the modules selected, you'll need to provide:
Carbon Module
- Carbon Registry (e.g., Verra, Gold Standard)
- Project Type (ARR, ALM, IFM, etc.)
- Crediting Period duration
General Information
- Country
- Project Start/End Dates
- Project Developer name/organization
- Project Description
Step 4: Submit
- Fill in all mandatory fields (marked with *)
- Review your information
- Click "Submit"
- Your project card will appear on the dashboard
Note: You can always edit project details later from the project overview page.
Next Steps
After creating your project: - Add Sites - Define monitoring locations - Explore Dashboards - View project analytics