Adding Sites
After creating a project, you need to add sites where your monitoring will take place. There are three convenient ways to add sites.
Method 1: Quick Add (First Site)
After creating a new project, you can add your first site directly through the project card by clicking on the "Add first Site" button.
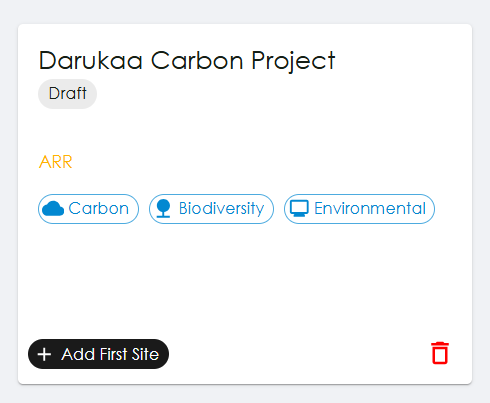
Project card showing the "Add first Site" button for quick site creation
Method 2: Site Management Page
Step 1: Open Your Project
Click on the project card to open it.
Step 2: Navigate to Site Management
- Go to the Overview page
- Click "Manage Sites" button

Project overview page showing the "Manage Sites" button for accessing site management
Step 3: Create Site
- Click "Add new site" button
- Fill in site details:
- Site name
- Other relevant information
Step 4: Define Site Boundary
You have two options:
Option A: Draw on Map - Use the integrated map interface - Draw the site boundary directly on the map - Adjust vertices as needed
Option B: Upload Shapefile
- Upload a shapefile in .zip format
- Ensure coordinates are in WGS84 (EPSG:4326)
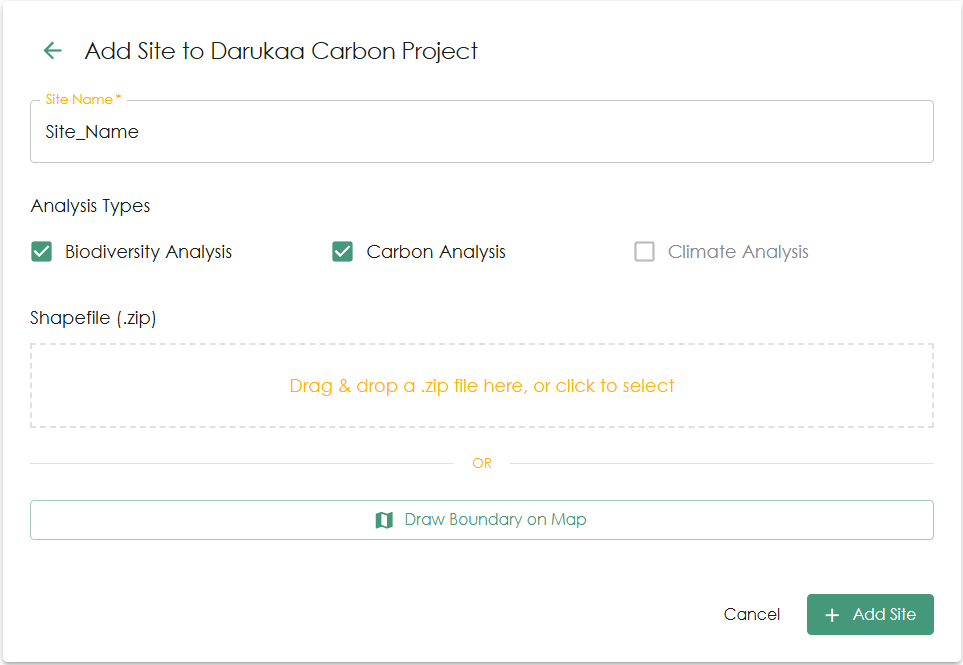
Site creation interface showing map-based boundary drawing and drag & drop zip file upload option
Method 3: Bulk Upload
For multiple sites at once:
- Prepare a CSV file with site information
- Use the bulk upload feature
- Follow the example format provided
- Upload and verify
Next Steps
After adding sites: - Explore Dashboards - View site-level analytics - Upload Audio Data - Add biodiversity monitoring data